However there where some problems during the project i had let the group down a bit by leaving things last minute which left out the scene of southend in the project which i was a bit dissapointed about but i did get quite a few animations done... i would like to have done some of the video editing and gettin more involved in the group work...
I had a few problems rendering as some files as some files where saving as compressed files which was really annoyin as i didnt kno until after i waited hours for it to render also changing the resloution it is rendering at was effecting it so the loweer it was the faster but then it was poor quality so it made it hard to get a perfect render...
i had some problems with the bike i modelled and i would go back and re model it differntly so that i can move the bike more freely like the handle bars with the wheel so it could turn..
i found that overall in the project i learnt that in the animation i concentrated too much on the modelling side and i would have like to have spent a bit more time doin differnt animations..
Virtual Enviroments
Friday, 10 December 2010
What Went Well...
i felt overall the project was quiet a challenge to begin with as we was all a bit not sure where to go with the brief but after a few meetings with elli i felt that it pushed the project into a good direction and opened our minds to better ideas in the end... ALso Taking trips to the places we choose to model help because then u could see how to model things but allso get a sense of the enviroment around wahat we was modelimg...
i had a bit of help from team members when i got stuck like using the biped which was really helpful as it let me constrate on other parts of the animation like moving the bike... i was glad that i managed to get it moving as it felt lik i had achived something and learnt quiet a few new techniques.....
I think our final animation came together really well in the end and that the theme of the postcards was a really good idea as it brought all the animations together...
Animating The Bike & Finishing Up...
i have used a image of a nice scenic place the hylands park for the background of my cycling image on a plane..
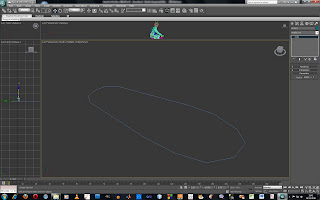

i realised when i finally got my bike moving i needed a bike chain :(.... so i decided to make a quick mock up of a chain and use a spline and then using the sweep tool to create a 3d shape i also edited it using the settings to change the sizes and then applied my material to move it didnt need to be animated as it did not notice as i played my animation...
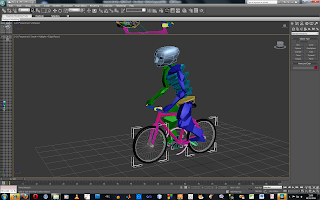
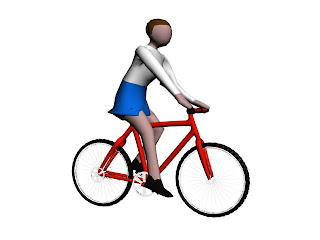 i fixed the women on the bike but the model was a bit dogy so i used the guy instead as i moved the women using the biped some of the polygons where sticking out, i think its because when it was being attached to the biped it must have left one of the vertices out.
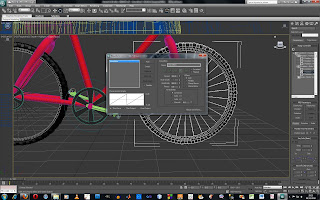 To animate the wheels i grouped all the spokes and tyres together and then i used the Motion tab> assign controller. Expanded the Y rotation to change its controller type. i used a new tool called waveform controller to adjust the settings and get it spinning 360 on the Y axis.
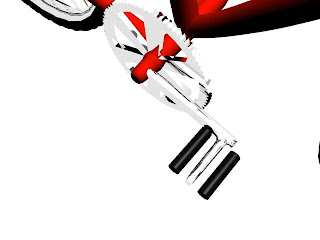
To animate the bike i had to change the design of the pedal as it was making it difficult for the pedals to rotate. to do this i added 3 splines to the middle and using the link tool i linked the pedals to the middle of the bike to make them spin together. To make sure it was correct i went to the Utility panel > more > Link inheritance.
Thursday, 9 December 2010
Inside Bunker
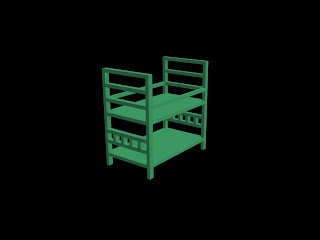
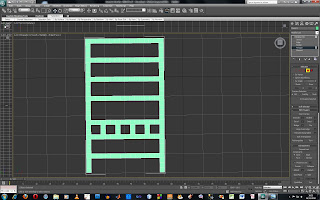 i started off with a plane to creat the shape of the bed and extruded out and then use the creat tool to fill in any gaps...
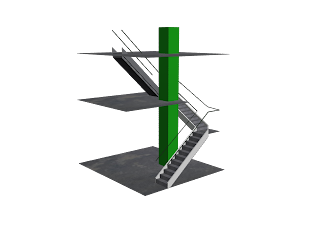
Stair well of bunker to go up...
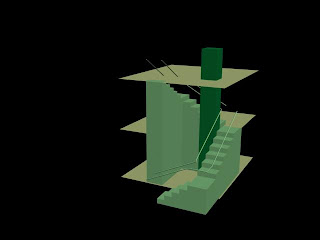
Sunday, 21 November 2010
Kelvdon Hatch Nuclear Bunker...
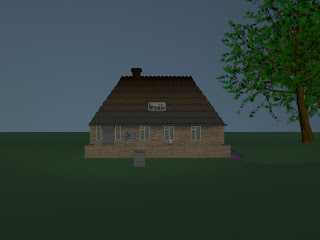
Bunker in Scenery adding trees and other bits n bobs....
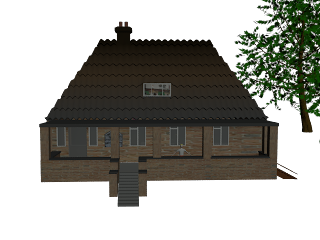
Final render of bunker
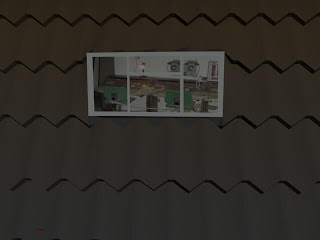
i had a problem with the glass i was using to relfect the image through the window which i though woud be a good affect during the animation as i couldnt get it to reflect i decided to delete the polygons n leave it blank so u could see some of the bunker inside which i though would be really cool...
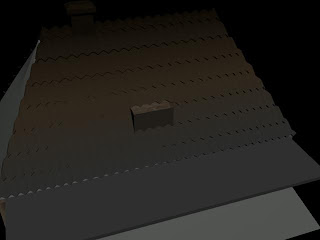 creating the window in the middle of the house...
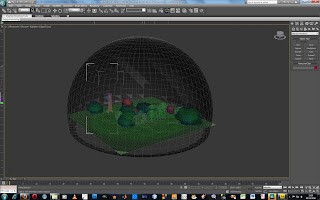 This is my bunker scene using a sphere and a plane. the sphere i have used a new tool called hemisphere which can chop the sphere in half to help me make a sky scene to my bunker. i then added modifiers to the spher i first added a normal, then uvw mapping to add a scene inside the sphere... i added a gradient modifer to this so i used 3 differnt colour bluse to create the sky scene. to smooth it all over so i had no straight edges sticking out i added a turbosmooth to make it all round.
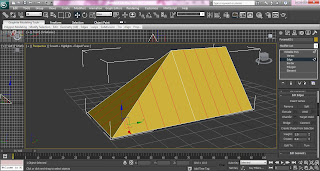 i created a plane and selected the edges i needed and using connect tool to select how many tiles i want to divide my roof up by as this was a quick trial my edges where not completely straight which gave a couple of complicated shapes further on when dividin up the polly. i used the chamfer tool to create more edges and the dip and also moved all the bottom vertices to make the shape more definate. i learnt how to use the slice plane tool whilst making the roof which is something i never used before, this came in handy when creating the horizantal lines and clicking slice. after my shape was complte i used the exturde tool to give the 3d effect to the tiles. i also used the tool smooth on the roof to smooth it over.
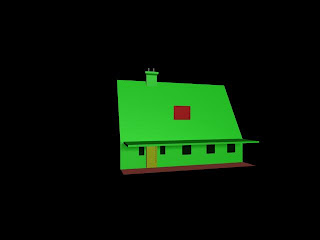
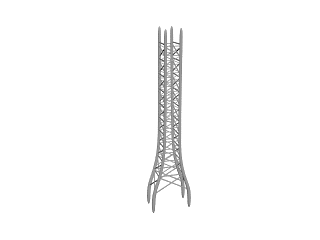
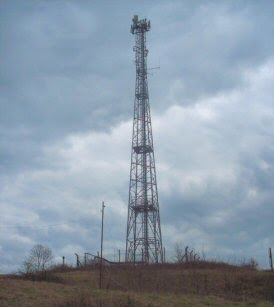
 For the project we all decided to go to the nuclear bunker as we need images to model it as well the bois thought it would be fun! so We Grabbed a Camera and took loads of images and this i reckon will be a challenge to model as there are soo many things in the bunker to model looks like i better get to work :)
Subscribe to:
Comments (Atom)


 For
For 
 final model of beds in the bunker


