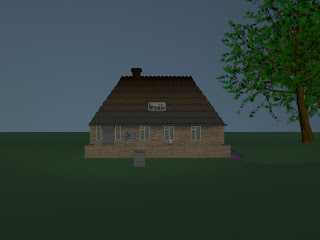
Bunker in Scenery adding trees and other bits n bobs....
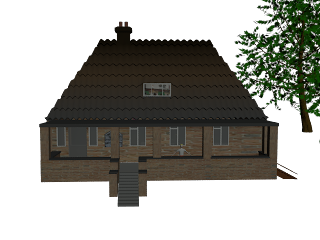
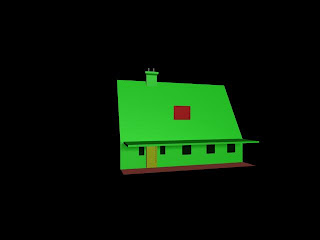
Final render of bunker
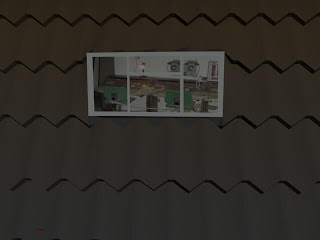
i had a problem with the glass i was using to relfect the image through the window which i though woud be a good affect during the animation as i couldnt get it to reflect i decided to delete the polygons n leave it blank so u could see some of the bunker inside which i though would be really cool...
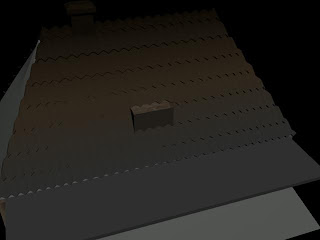 creating the window in the middle of the house...
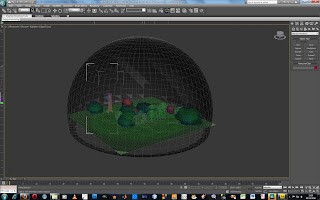 This is my bunker scene using a sphere and a plane. the sphere i have used a new tool called hemisphere which can chop the sphere in half to help me make a sky scene to my bunker. i then added modifiers to the spher i first added a normal, then uvw mapping to add a scene inside the sphere... i added a gradient modifer to this so i used 3 differnt colour bluse to create the sky scene. to smooth it all over so i had no straight edges sticking out i added a turbosmooth to make it all round.
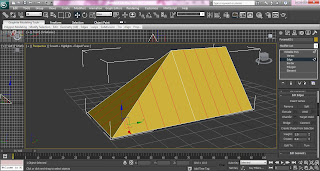 i created a plane and selected the edges i needed and using connect tool to select how many tiles i want to divide my roof up by as this was a quick trial my edges where not completely straight which gave a couple of complicated shapes further on when dividin up the polly. i used the chamfer tool to create more edges and the dip and also moved all the bottom vertices to make the shape more definate. i learnt how to use the slice plane tool whilst making the roof which is something i never used before, this came in handy when creating the horizantal lines and clicking slice. after my shape was complte i used the exturde tool to give the 3d effect to the tiles. i also used the tool smooth on the roof to smooth it over.
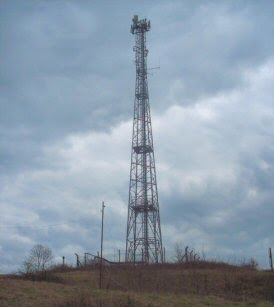
 For the project we all decided to go to the nuclear bunker as we need images to model it as well the bois thought it would be fun! so We Grabbed a Camera and took loads of images and this i reckon will be a challenge to model as there are soo many things in the bunker to model looks like i better get to work :)


No comments:
Post a Comment